REIXS Beamline Remote Access Policies
-
All users given access to remotely control the REIXS beamline need to be signed onto a remote permit. No person shall create a nomachine session without being signed onto the beamline with appropriate training, in this case we require an accepted user agreement and the BSO – REIXS – Remote training.
-
Please make sure the beamline is marked unattended if you are not actively controlling the beamline. This will inform operators and beamline staff, in case of emergency, that no one is monitoring the beamline operation and provide a contact if there is some emergent concern.
-
Ensure all nomachine remote sessions are not left unattended; you are responsible for any beamline activity initiated through a nomachine session you create.
-
Ensure you get adequate rest. Do not operate the beamline while fatigued. There should be adequate beamline controls in place to ensure the beamline is not damaged through software, but nothing is infallible and accidents are less likely when users have adequate rest.
-
Please try to use a computer monitor with no less than 1080 horizontal lines and ideally 22” or larger. Dual monitor setup is best, but single is okay using alt+tab to switch between windows. One nomachine session stretched across two monitors will be the most efficient.
NoMachine Instructions
Stand Alone Client
-
On your PC, navigate to: https://www.nomachine.com/product&p=NoMachine%20Enterprise%20Client
-
Download the "NoMachine Enterprise Client" appropriate for your OS.
-
Install and start the Client.
-
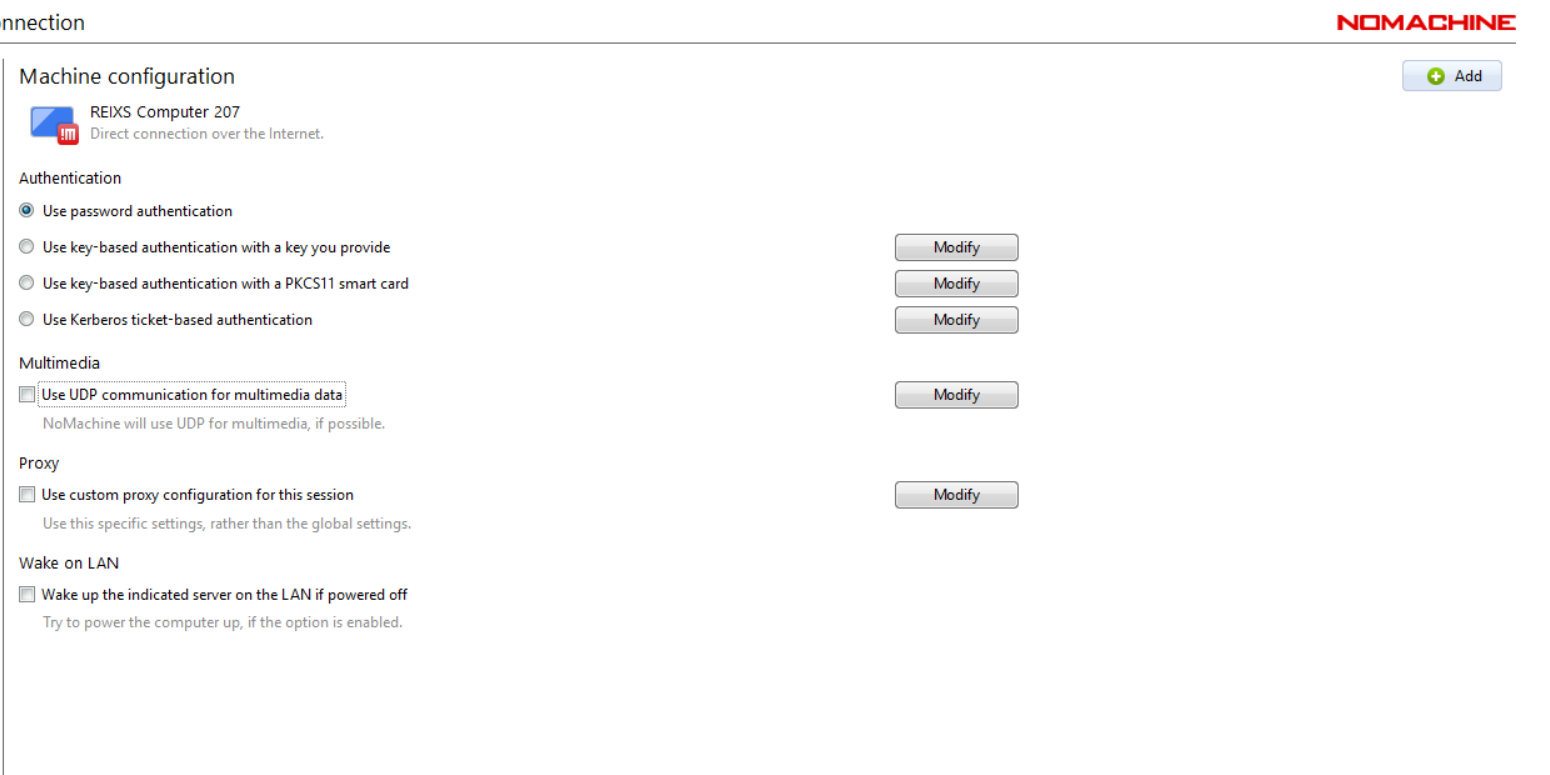
‘Click Add’ and then 'Add connection’ to create a new connection.
-
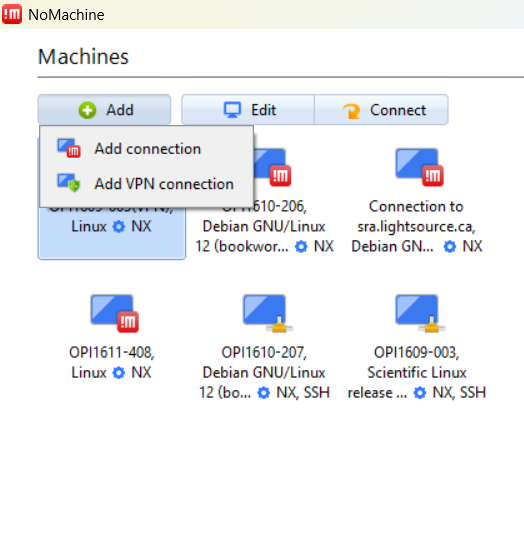
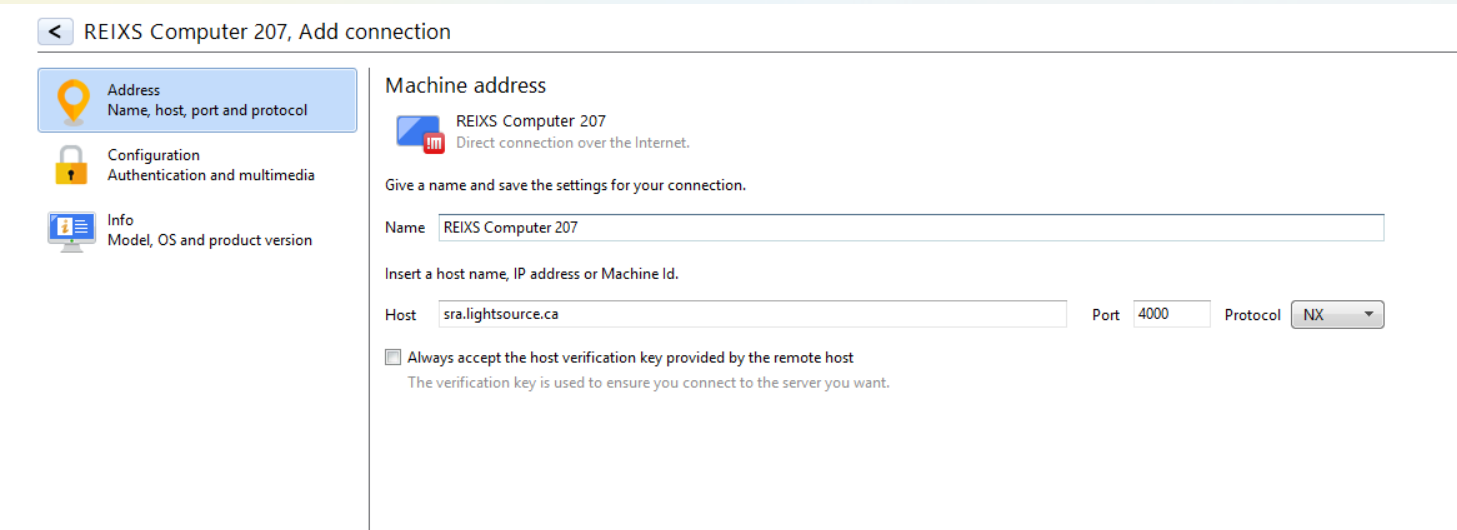
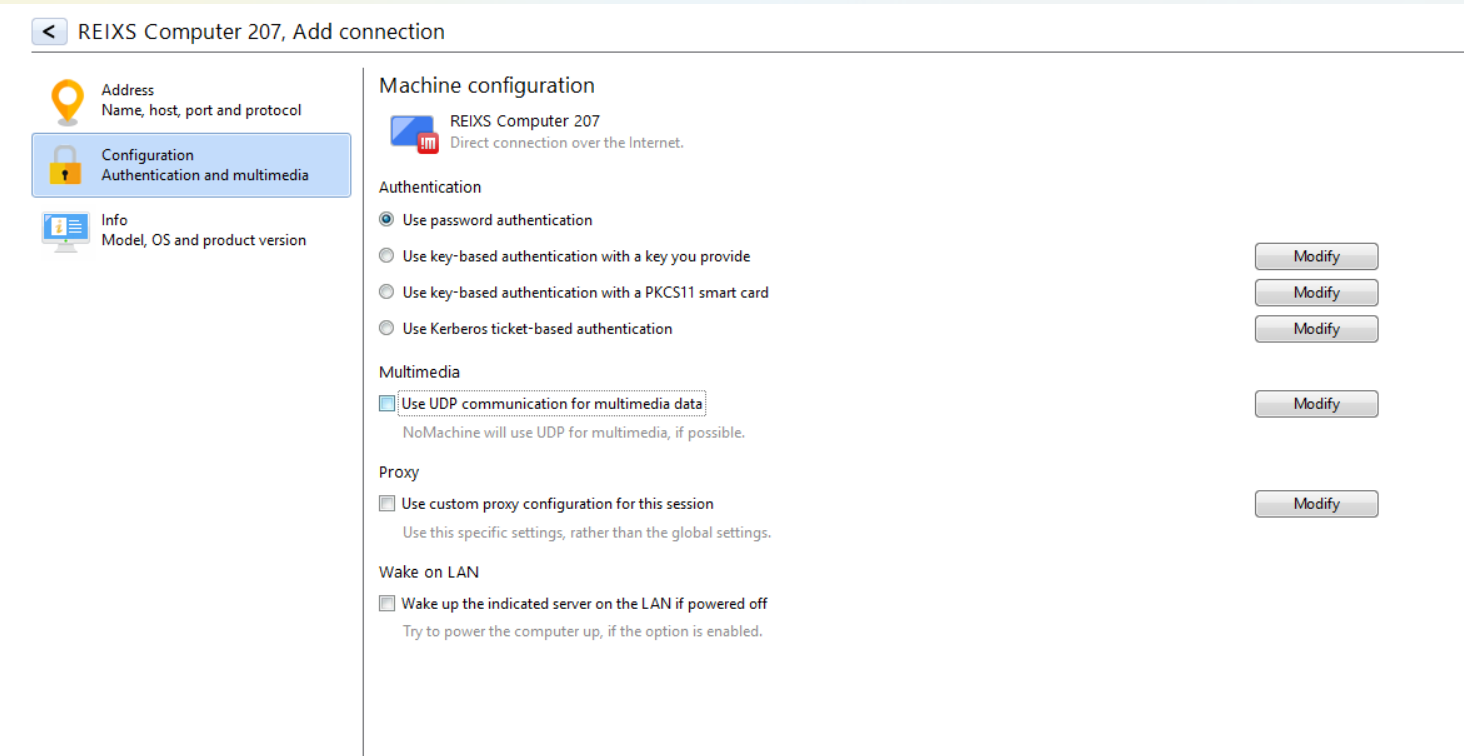
Go through the wizard: Create name, host sra.lightsource.ca, un-check UDP.
-
Click ‘Add’ and double-click on new icon created.
-
Enter the username, either nm-opi1610-206 or nm-opi1610-207 to direct to specific beamline computer.
Beamline staff will have provided the password. -
Check “remember password” for convenience.
-
Uncheck mute, otherwise leave defaults and check don’t show again.
Web Browser
-
On your PC, navigate to https://sra.lightsource.ca
-
Enter username, either nm-opi1610-206 or nm-opi1610-207 to direct to a specific beamline computer.
Beamline staff will have provided the password. -
Check “remember password” for convenience.
-
Uncheck mute, otherwise leave defaults and check don’t show again.
Data Access using Globus
-
Navigate web browser to: https://www.globus.org/
-
Select “LOG IN” in the upper right corner.
-
Select “Canadian Light Source Inc.” form the list of instituions.
-
Login using your CLS Credentials.
-
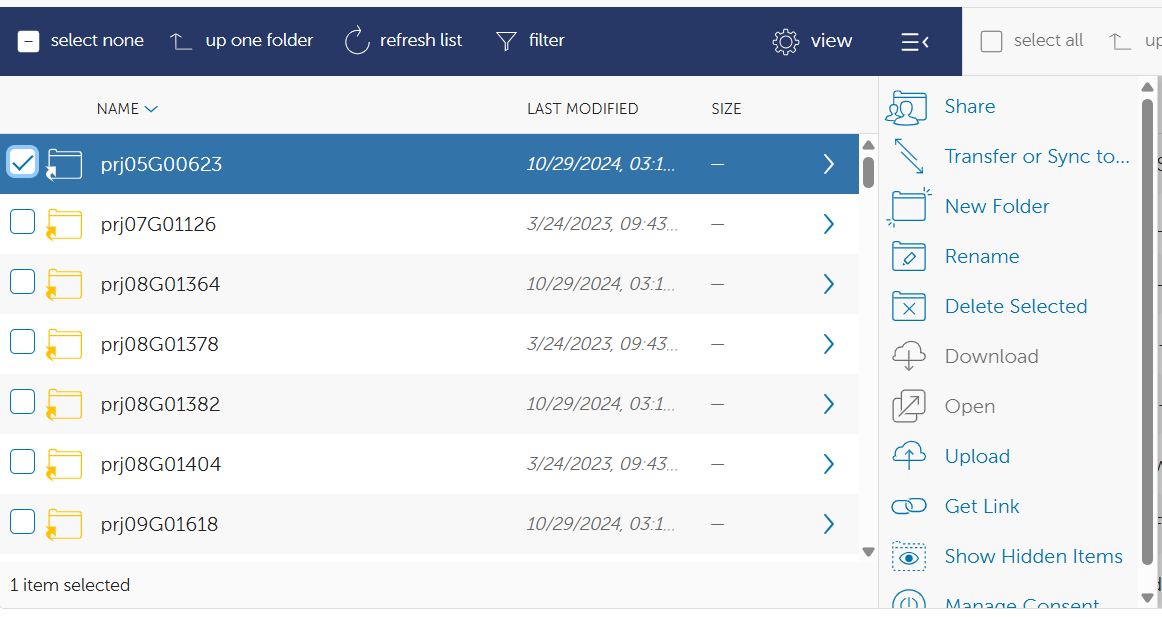
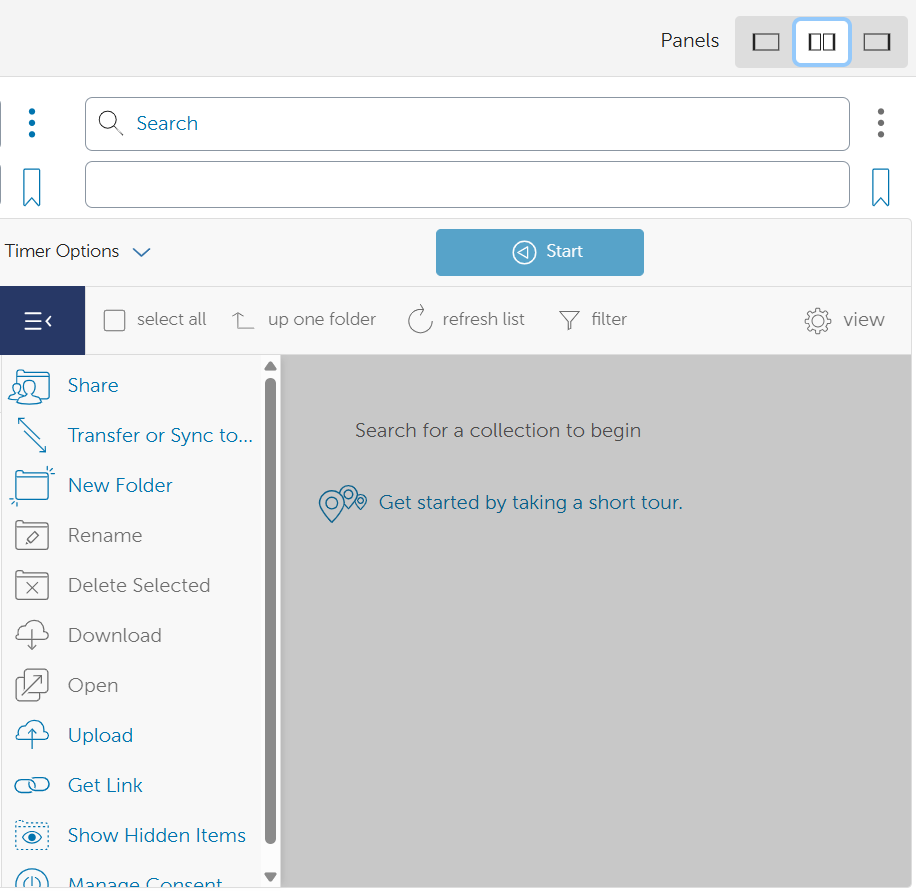
Select the “File Manager” tab from the right side of the page.
-
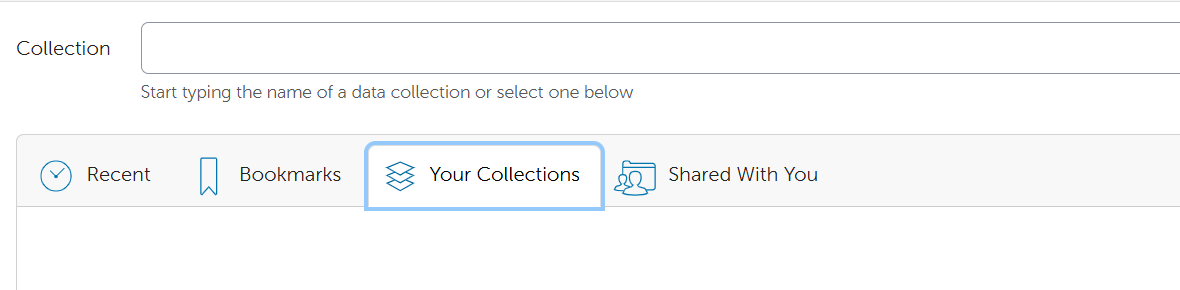
In the “Collections Search” bar enter “CLS Beamline Data”.
Select the collection link and you will be presented with the projects of which you have access. -
Download files to your local drive individually or sync to an endpoint.
You will need to have setup an endpoint on your computer if you would like to sync collections.
Personal Globus Endpoint
-
Navigate to https://www.globus.org/globus-connect-personal
-
Download and install the software appropriate for your computer OS.
-
In the “File Manager” tab open above, select the split screen option.
-
Click in the “search” bar and select “Collections”. Select the name of the endpoint on your local computer.
-
Check the appropriate data folder on the left panel and click “Transfer or Sync…” to transfer/sync the data to the selected location on the right panel.